Blender export
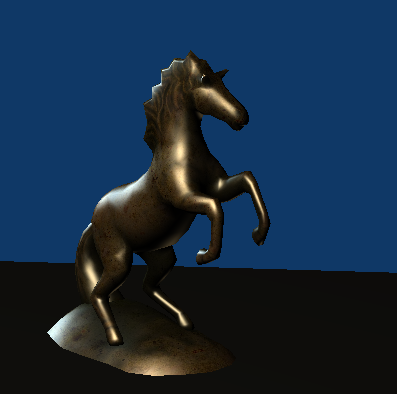
Converting Blender scenes into X3DOM webpages is pretty simple: Blender already supports direct X3D export even so there are some issues (Don Brutzman wrote about). Blender Version 2.4 seems to export some more nodes (e.g. lights), but in general it works. We will explore this more in the future, but an exported X3D file (such as the little horse shown below) may afterwards be easily be integrated into an HTML webpage using X3DOM.

Horse model courtesy of http://etyekfilm.hu/
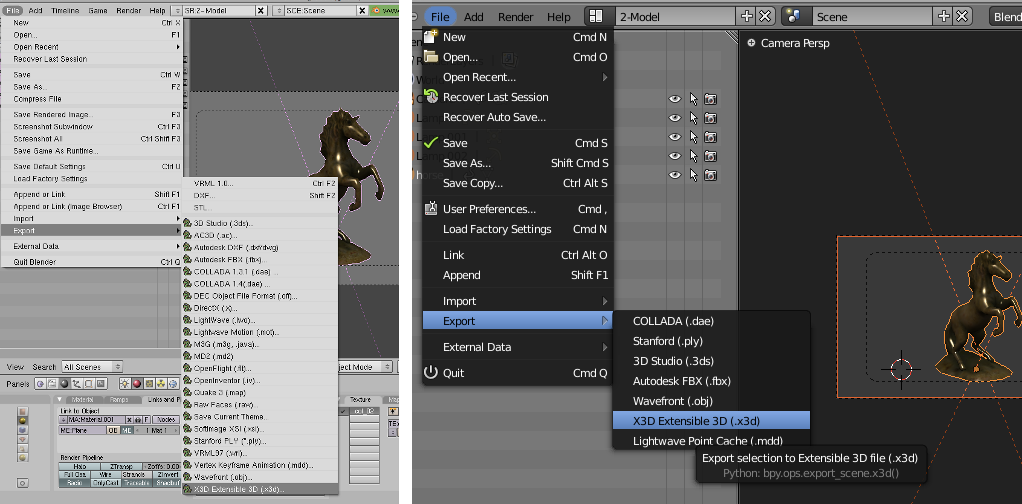
Just finish your model in Blender and export to x3d file format (see next image).
There are two ways to get your X3D data into the HTML page, and both include no coding at all:
Two-file solution, link the X3D-file
Just use a very simple X3D scene in your HTML file, which, more or less, only includes an <inline> node. This nodes references and asynchronously downloads the X3D file. Therefore you need a real web server (e.g. Apache) running while using <inline> nodes in X3DOM.
The result: http://x3dom.org/x3dom/example/blenderExport/horse-inline.html
One-file solution, embed the X3D data inside of the HTML page
You can embed the X3D file by hand in a (X)HTML page, but this may include some hand-tweaking. Better use the aopt-converter described in Generic 3D data conversion. This can be done offline with a single command:
aopt -i horse.x3d -N horse.html
You also may use the converter online. Just open horse.x3d with your favorite text editor and paste it into the source text field. Choose XML encoding (X3D) as input type and HTML5 encoded webpage as output type and press the Convert encoding button.
The result: http://x3dom.org/x3dom/example/blenderExport/horse.html
The main difference between the two versions is the handling of Viewpoint nodes (as cameras are called in X3D). If you use the two-file solution, you get a spec-compliant standard camera, while the viewpoints in the included data are not available at the beginning. In the one-file solution you already have the Viewpoint nodes from Blender at the start time. Just copy one of the viewpoints into the main HTML page to correct this behavior if you want.
Here is a zip archive (272kb) with all files used in this tutorial including blender model, texture, and x3d model.
